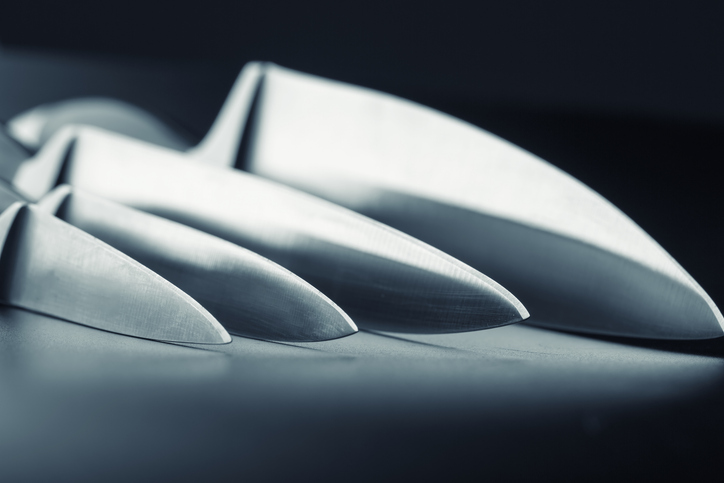
Every knife owner has picked up a blade and realized it barely catches on a fingernail. Whether from years of neglect or months of hard kitchen duty, a completely dead edge can seem beyond saving. It rarely is. The right abrasive, a flat surface, and a steady hand can rebuild a cutting bevel from nothing. This guide walks through the full process of restoring a lifeless blade to sharpness.
Why Abrasive Grit Matters for Edge Revival
Fine sharpening stones do great work on edges that just need a touch-up. A truly dead knife, though, has no bevel left to refine. Polishing compounds and ceramic rods will just skate across the flat steel without reshaping anything. Coarse abrasives solve this problem by removing enough metal to create a new cutting angle. That initial, aggressive stage is what separates a successful restoration from a frustrating afternoon of wasted effort.
The choice of coarse abrasive also affects how cleanly the new bevel forms. Silicon carbide powder at a low grit, such as 60, quickly and consistently bites into hardened steel. It handles both stainless and high-carbon alloys without glazing over, and it pairs well with lapping plates or flat glass surfaces. This gives the sharpener direct control over pressure and stroke angle during the most critical phase of the restoration.
Assessing the Blade Before Starting
Spending a minute examining the edge saves time later. Hold the knife under a strong light and tilt it slowly. A dead edge will show bright reflections along the cutting line, tiny flat spots where the steel has rounded over or chipped away. Those reflections confirm that no functional bevel remains.
Checking for Chips and Rolls
Chips and rolled sections call for different amounts of material removal. A rolled edge often straightens out after moderate grinding. Chips, however, mean grinding past the damaged area entirely, which takes more passes and more patience. Knowing the difference upfront helps set realistic expectations for how long the coarse stage will take.
Preparing the Sharpening Surface
Flatness matters more than most people realize. A warped or uneven base creates an inconsistent bevel, so glass plates or granite tiles make ideal foundations. Spread the coarse powder across the surface in an even layer and add a few drops of water or light honing oil. This forms a cutting slurry; the loose particles do the actual grinding as the blade moves through them. Use enough powder to coat the surface without clumping, since excess material just gets pushed aside.
A small spray bottle nearby helps keep the slurry active. Adding a light mist of water every few minutes prevents the abrasive from drying into a paste and reduces heat transfer to the blade.
The Sharpening Process
Setting the Angle
Kitchen knives generally perform best at 15 to 20 degrees per side. Heavier utility or outdoor blades benefit from a wider angle, around 22 to 25 degrees, for added durability. Holding this angle consistently through each stroke is the single biggest factor in building a clean, even bevel.
Grinding the New Bevel
Lay the blade on the slurry at the target angle and draw it across the surface with smooth, even pressure. Push firmly on the forward stroke and ease off on the pull-back. After roughly 10 to 15 passes, run a fingertip carefully along the spine side of the edge. A thin ridge of raised steel, called a burr, should be forming. That burr confirms the abrasive has ground all the way down to the apex.
Switch sides and repeat until a matching burr appears. Building this burr evenly on both faces creates a symmetrical bevel, which is essential for a balanced, long-lasting edge.
Transitioning to Finer Grits
With a solid burr established on both sides, the coarse work is done. Move to a medium stone in the 400 to 600 range to smooth out the deep scratch pattern left by the initial grinding. Follow that with 1000 grit or higher to polish the bevel. Each successive stage erases the marks from the one before, producing a progressively keener edge.
Removing the Final Burr
A few light passes with a leather strop, or even a piece of smooth cardboard, will remove the remaining burr. The result should be a clean, refined edge that catches light only as a hair-thin line.
Conclusion
Bringing a dead knife edge back to life is less about skill and more about following the right sequence. Coarse abrasive powder does the heavy structural work of carving a new bevel into flat steel. Medium and fine grits then refine that shape into something genuinely sharp. Once restored, periodic honing and the occasional touch-up on a medium stone will keep the blade performing for months before it ever needs this level of attention again.